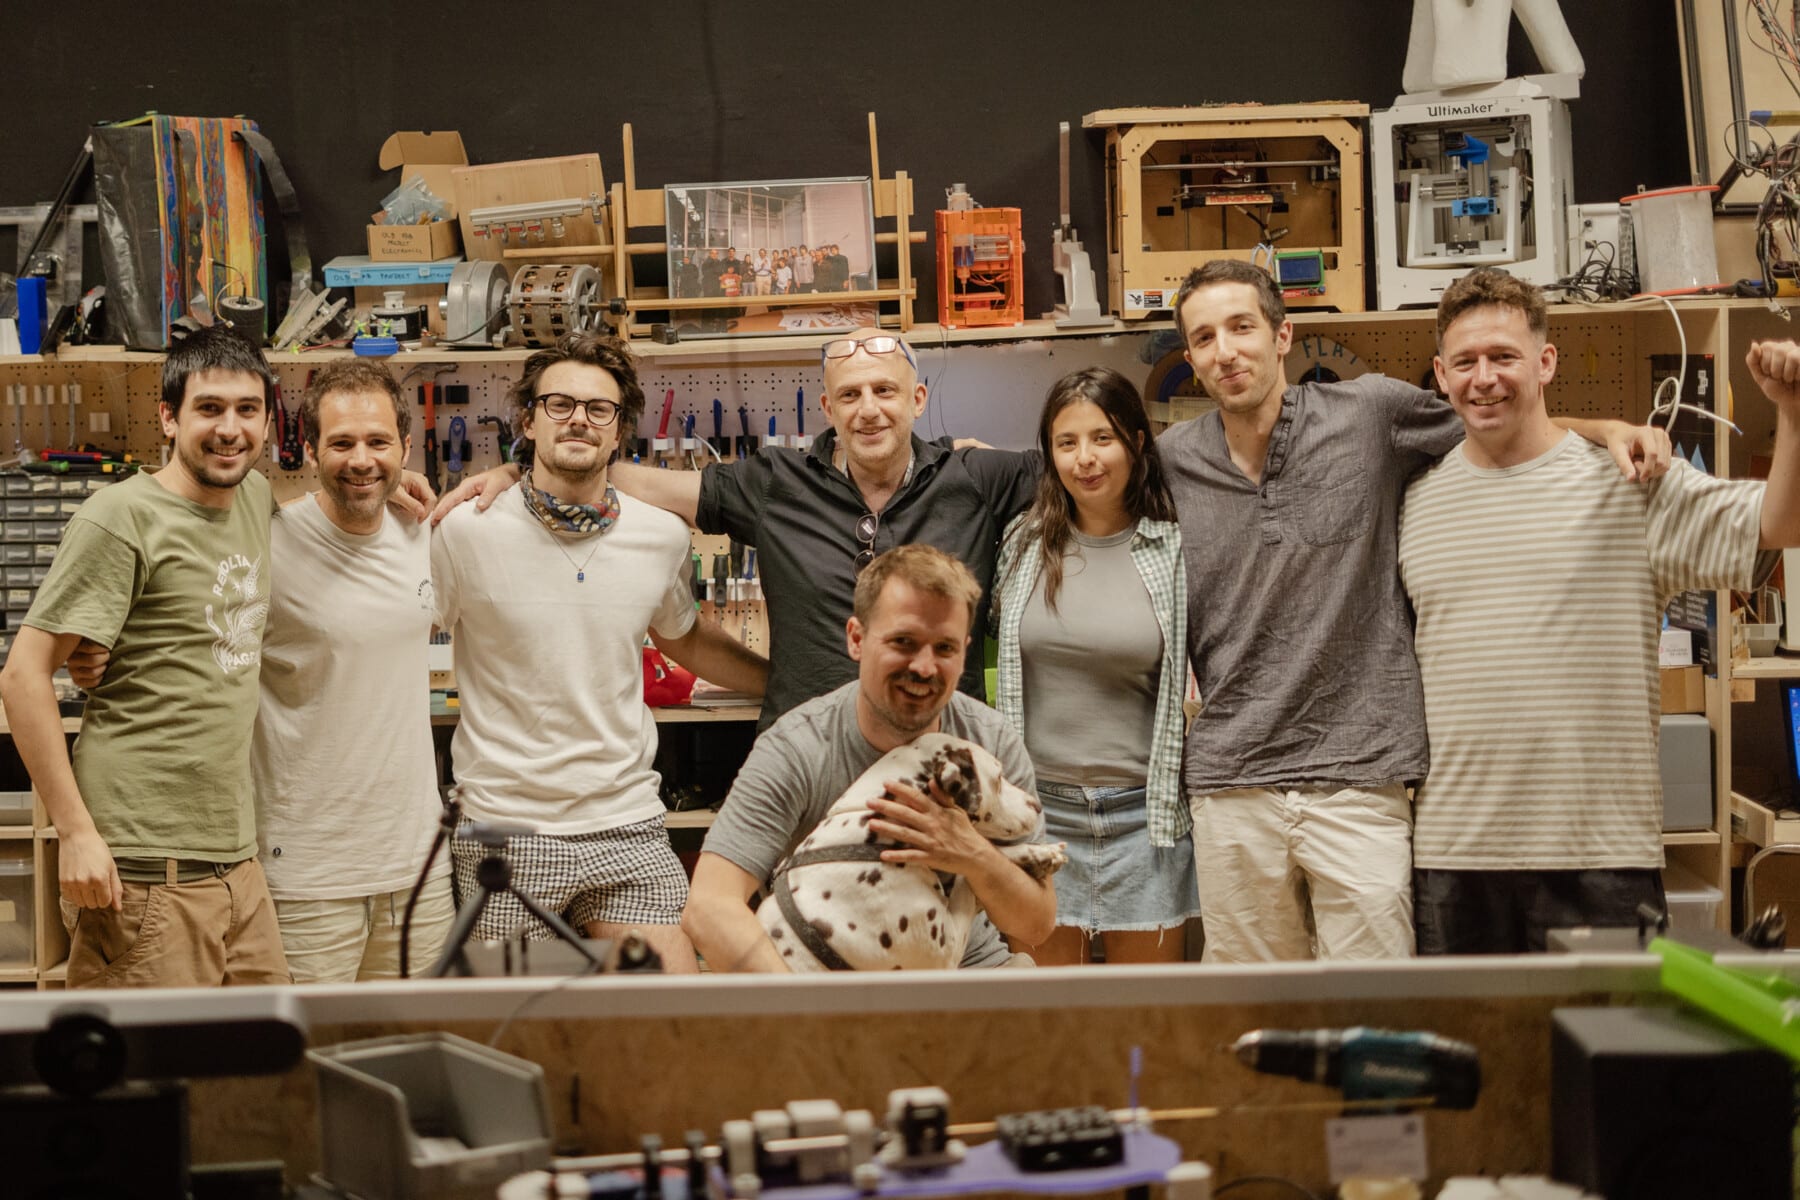

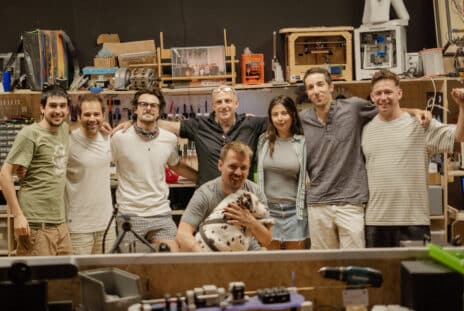
We are a research and education centre rethinking the way we live, work and play!
Education Programs
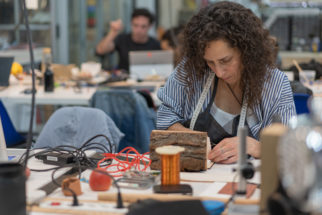
Master in Design for Emergent Futures – MDEF
Challenge the Way Things Work Today, Design for Tomorrow
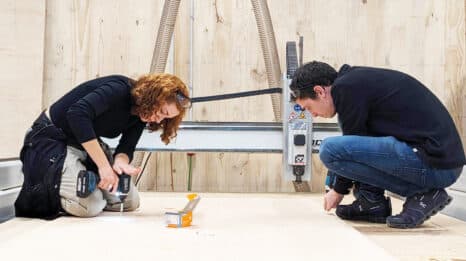
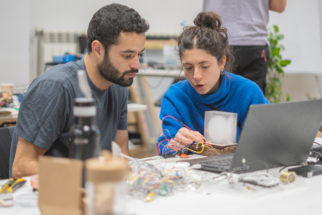
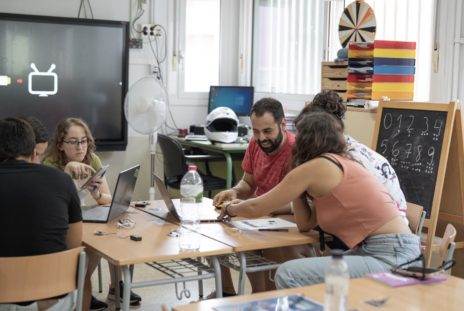
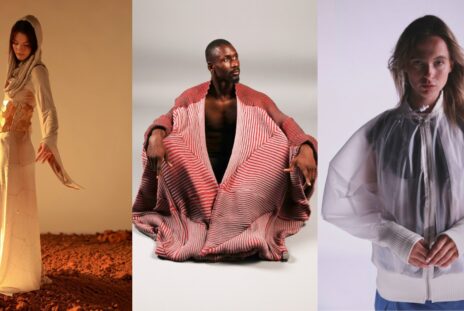
Postgraduate in Digital Fabrication – Fab Academy BCN
Hands-on learning experience and learn rapid-prototyping.
What’s on
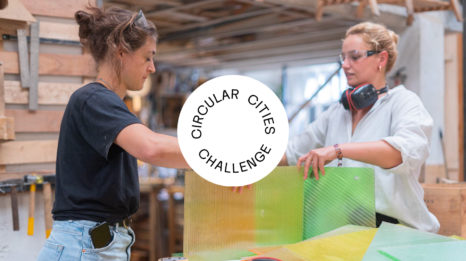
Our latest projects


Hot from the blog
Stay in the loop
RESOURCE
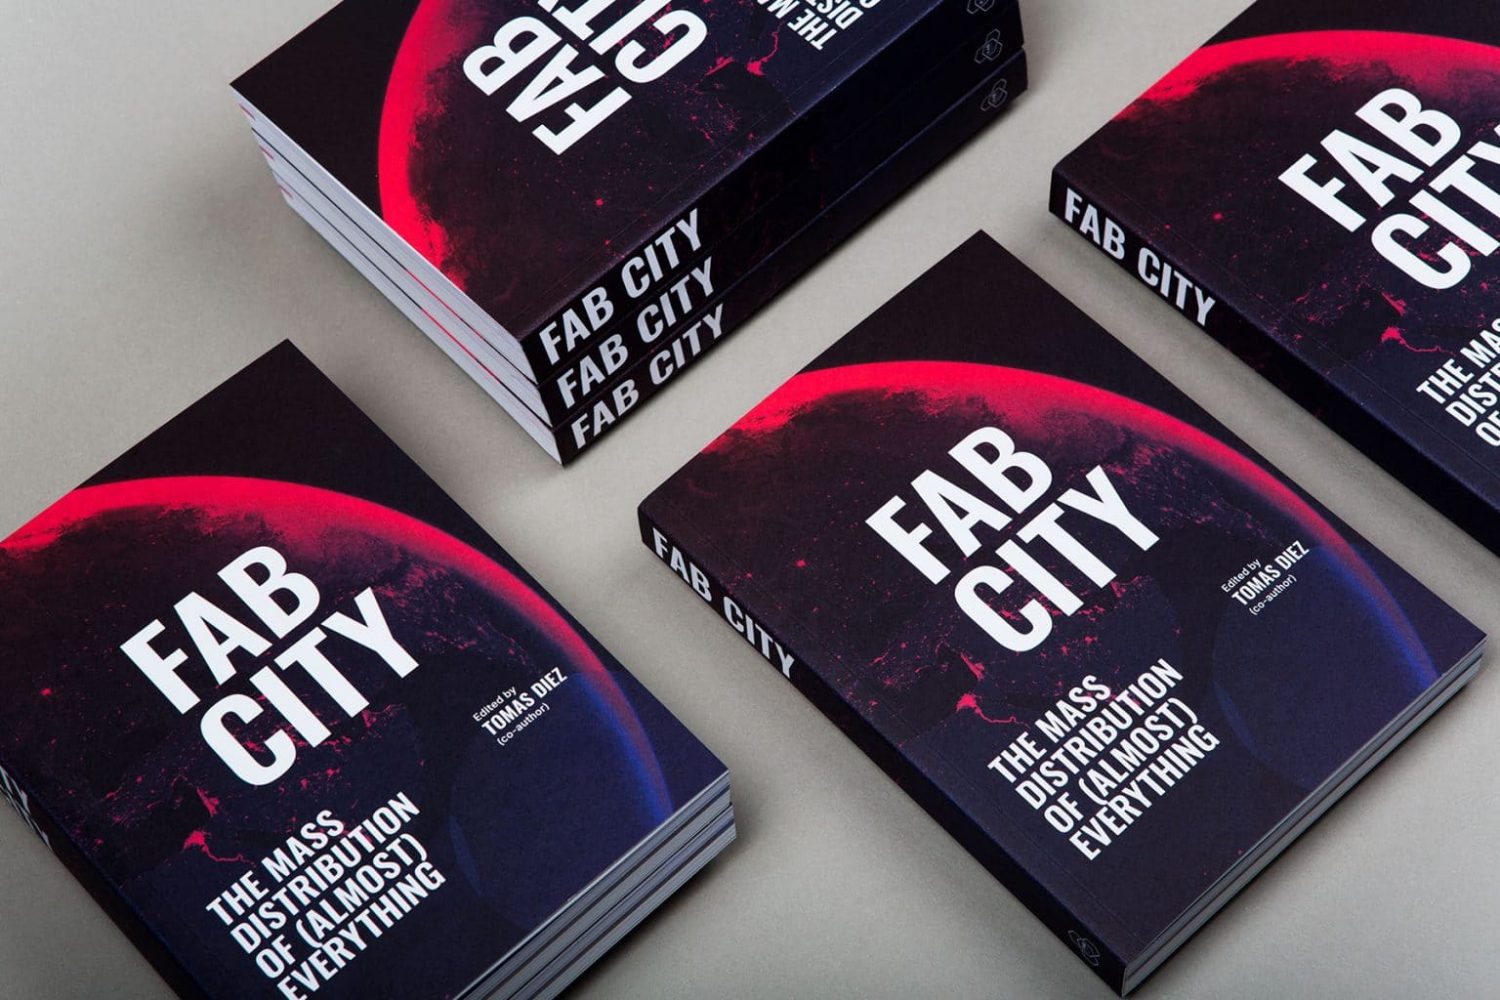
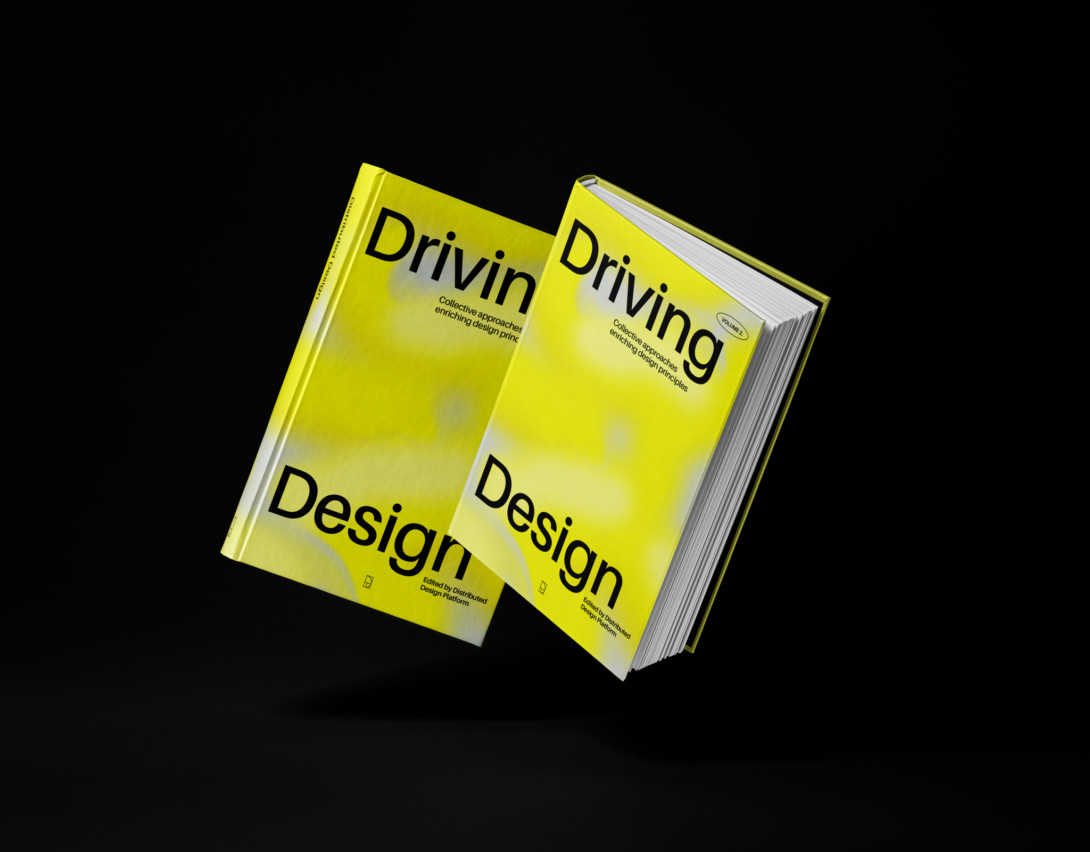
Fab City: The Mass Distribution of Almost Everything
A manual for making positive engaging urban futures possible
read more